
Further working to increase value, in the Ravenna there is the option for a bonus rec room that goes over the garage. Its fairly large at about 17x15 with an additional nook of 8x8 on the side facing the front of the house. Being that there is a basement that has turned into an entertainment/rec area, having an additional "rec" area is nearly pointless for us as all fun/hanging out activities happen down there.
So, essentially this is whats happening...

Building a wall, removing about 1/3 of the bonus room to create two closets. One closet for the forthcoming 5th bedroom (6x4) and another with access from the master to create a "hers" walk-in (9x6).
So after some measuring and framing, the fun begins...

Since this is just a decorative wall, 24" oc stud spacing is permitted.


Drew the outline 32x80 for the entrance from the master. The wall this is going on is load bearing so that adds to the fun.

You can see the fire blocking going across. I set this opening in the middle of two other studs hidden by the drywall. I didnt want to do a massive amount of drywall repair so I had to figure out how to frame the door without cutting.

The studs (figure 1 - B & C) you see above in the photo will become the king studs in figure 2.
The first step was to trim the fire blocking that is hidden by the drywall on both sides to a specific length to give the king studs that I am moving a spacer to rest against behind the drywall.
I came up with a great idea to cut the fire blocking directly through the drywall (while they are still nailed in to give me a correct spacer length at -3in from the edge of the door opening), which is represented by the green lines in figure 1. Then remove the studs (figure 1 - B & C), add new top & bottom spacers (figure 2) and bang the studs you just removed all the way to the spacers and connect.

Fire blocking removed and slits cut


Being a load bearing wall, a header is required to maintain the structural integrity of the wall. There are many resources on the net as well as structural engineers that can help you strategize the correct approach. I claim no liability or warranty to any of the instructions provided herein.
Most resources recommend a 2x6 header for a span of 32". I went for overkill and used a 2x10. The way you create a header is to cut two pieces to length (an extra 1/16th of an inch is recommended) so you can securely hammer them into place. In order for the header to match the full thickness of the 2x4 that will be supporting it (3.5"), you need to sandwich a 1/2" piece plywood in-between two pieces of the 2x10.

Removed the original studs and re-positioned them to -3" behind the drywall on both sides, now called King Studs which attach to the current framing


Now the next step is to get my header piece up into the wall. Being that the header is cut 3" larger than the actual opening as it will be supported by two studs on the ends behind the drywall there was no way for me to get it into the opening. So I cut two notches on either side to slide it into. These will be covered up by door casing.

If you cut it right it should just sit there.

After a lot of banging, she is up in position, very tight. If you had electrical running through this opening you would have to re-run it over the top of the header.


Nailed in

Now insert the studs to support this new header piece. This is a requirement. The header cannot be simply nailed in.

Jack stud (figure 3) holding up the header.


Before
After

Peek into 5th bedroom closet, electrical complete

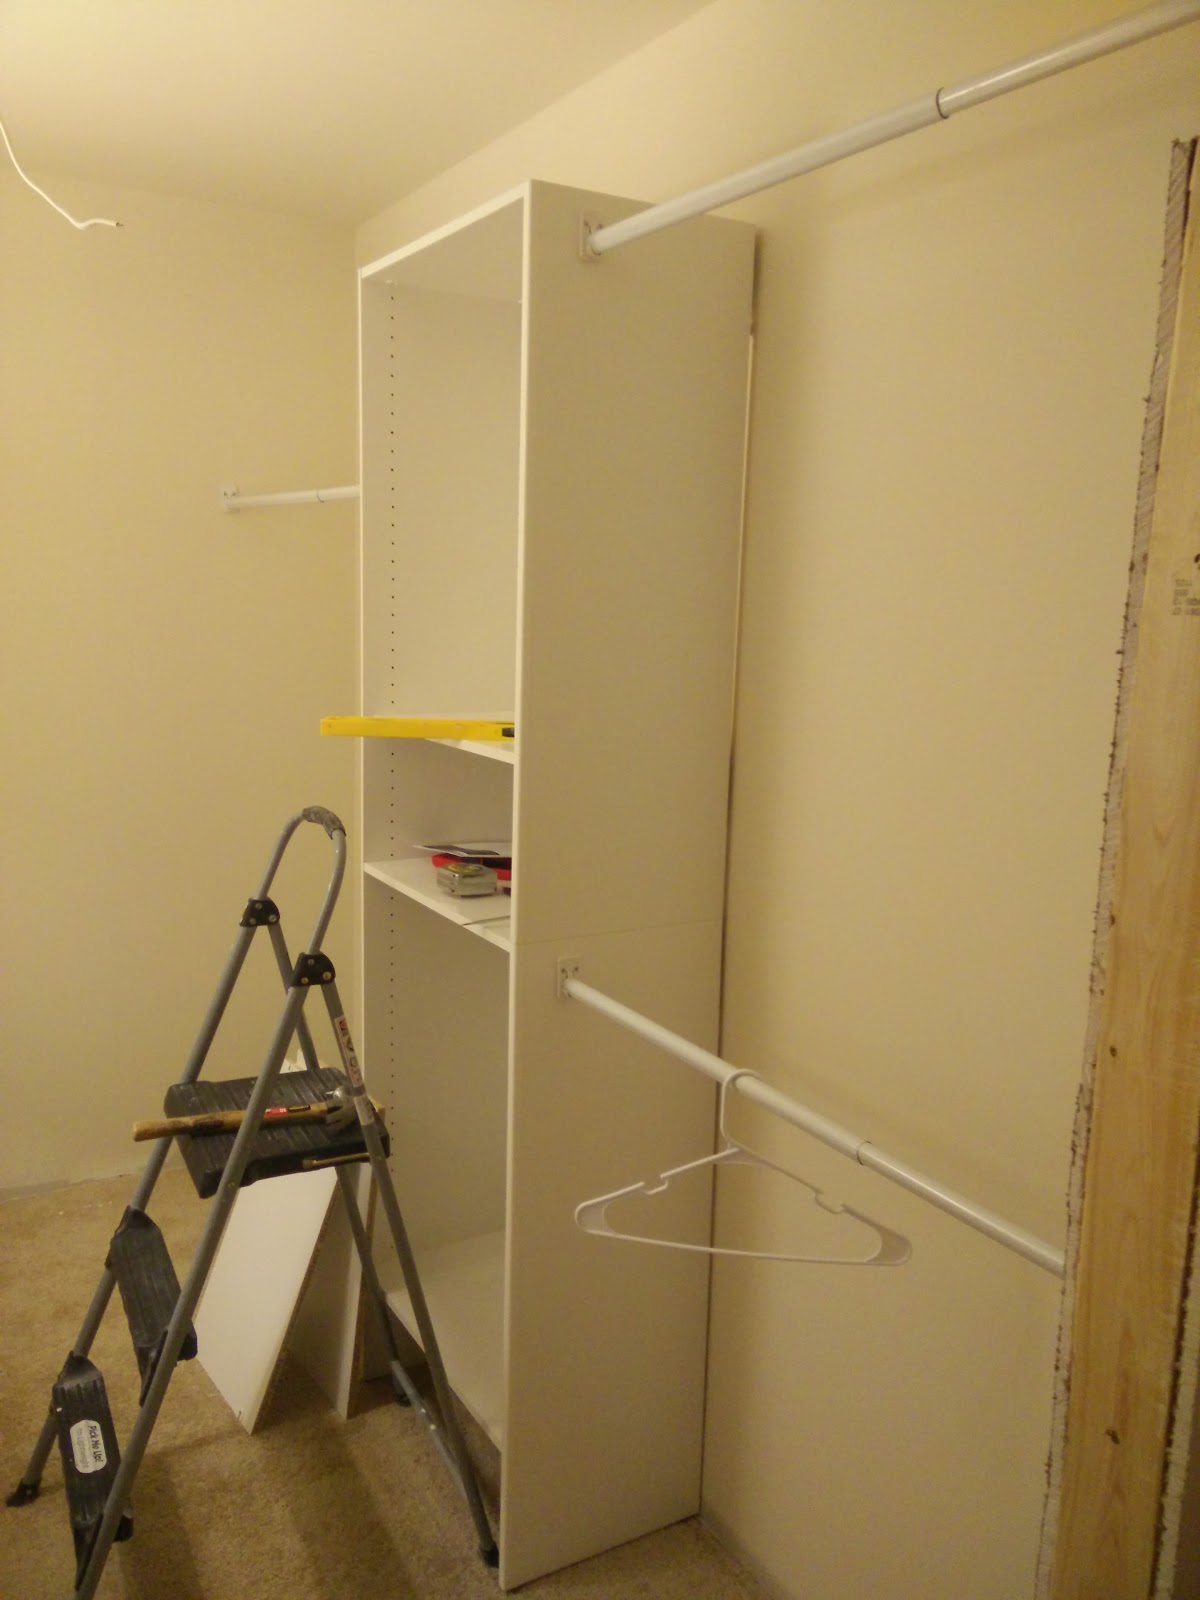
Peek into the new secondary master closet, waiting for fixture


The custom layout begins. Priced and contemplated Martha Stewart (missed the clearance event at Home Depot which would've dropped the cost to $250, ugh) and Allen + Roth ($1000). With some tweaks, the Closetmaid solution gave what was needed at a better price point ~$600. Even though its pressed board and not MDF, if you're careful with assembly you will be satisfied. I can definitely add some finishing touches to give it a more luxe look like crown and trim pieces.
And so it begins...

Essentially done


Door casing up and light switch installed

Light fixture from Overstock, $80

Started to fabricate a small vanity out of a repurposed shelving unit.

Added mirror

Added drawer

Baskets to come

Home Depot $150
Repurposed this frosted glass slab into a sliding barn door.


Hardware from Amazon $75.
If you are keeping the casing around the doorway, you will need to get barn hardware that mounts to the top of the door, not down the front top of the door like you see most often.

Supports up...

Bar up, and door hung. This was a pretty simple install

door stops to control the swing...


Hung this door high to compensate for the header that I had to install, so needed to add some length and wrap the bottom in some trim board. Will be painted white.

Final touches and fireplace wall up next!
Great to be back :-)
Welcome back!
ReplyDeleteWow this was very creative. Great job!
ReplyDelete